How To Change WordPress Critical Error Page Content
WordPress critical error page is a nightmare for most of the WordPress Developers. If you accidentally upload a file with a bug, suddenly all your visitors will face this white message of death. Generally text displayed here has no meaning for your visitor.
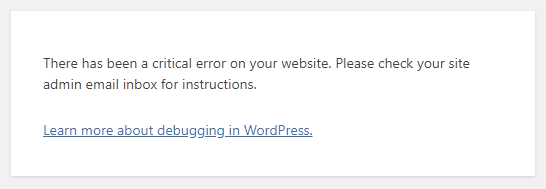
But, WordPress allows you to customize this default error page using a drop-in file. If you want to change your critical error page to a more descriptive page (or maybe add some branding to it) just follow the steps below.
Note. Steps provided below require basic HTML + CSS and FTP knowledge. Please consult a developer if you have no clue about them 😉
Change WordPress Critical Error Page Content/Style
- Create a php file named “php-error.php” in your wp-content folder.
- Add the following code:
<html>
<head>
  <meta charset="utf-8">
  <meta http-equiv="X-UA-Compatible" content="IE=edge">
  <meta name="viewport" content="width=device-width, initial-scale=1.0, minimum-scale=1">
  <title>Error</title>
<style>
body *{font-family: Arial, Helvetica Neue, sans-serif; font-size:18px;text-align:center;padding:10px;margin:10px auto;max-width:728px;}body{background:#444;color:#eee}h1{font-size:32px}
</style>
</head>
<body>
  <section>
    <h1>500: Out of Cafeine Error</h1>
    <p>Please add more coffee into your code!</p>
  </section>
  <footer>WP Assist</footer>
</body>
</html>
3. Edit the code as needed.
PS. I don’t recommend adding any links back to your site, as it is already having issues. So, keep it simple.

Now when you have a critical error on one of your theme files, your visitors will see the content of this page instead of wordpress critical error message.
We hope you find this tip useful! Check out our WP Tips category for more posts like this.


